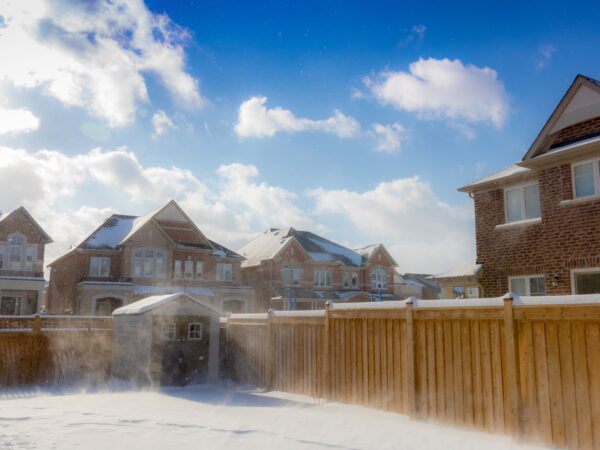
Winter brings with it a unique set of challenges for homeowners, and your roof is on the front line of defense against the elements. To ensure your roof is ready to withstand the cold, snow, and ice, it’s essential to prepare it properly before winter arrives.
In this guide, we’ll provide a step-by-step checklist to help you prepare your roof for the winter months, ensuring it remains in good condition and your home stays warm and dry.
Step 1: Clean Those Gutters
The first task on your winter roof checklist is to clear out your gutters and downspouts. Leaves, debris, and even small branches can accumulate in your gutters, causing water to back up and potentially damage your roof or lead to ice dams. Use a sturdy ladder, gloves, and a scoop to remove debris, and then flush the gutters with a hose to ensure they flow freely.
Step 2: Inspect for Leaks
A leaky roof in winter can lead to water damage and ice formation. Check your attic and ceiling for any signs of leaks or water stains. Address any issues promptly to prevent them from worsening during the winter months.
Step 3: Check Roof Flashing
Inspect the flashing around chimneys, vents, and skylights. Damaged or loose flashing can allow water to seep underneath your roofing material. Replace or repair any damaged flashing to ensure a watertight seal.
Step 4: Examine Roof Shingles
Carefully inspect your roof’s shingles or roofing material. Look for any missing, damaged, or curling shingles. Damaged shingles can allow water to penetrate your roof’s underlayment. Replace any compromised shingles promptly.
Step 5: Ensure Proper Insulation
A well-insulated attic helps prevent heat from escaping through your roof, reducing the risk of ice dams and improving energy efficiency. Ensure your attic is properly insulated and well-ventilated. Insulation should be evenly distributed and not block the flow of air from soffit vents to roof vents.
Step 6: Trim Overhanging Branches
Overhanging tree branches can become heavy with ice and snow, posing a threat to your roof during winter storms. Trim back any branches that could potentially fall onto your roof and cause damage.
Step 7: Seal Gaps and Cracks
Inspect the roof for any gaps or cracks that could allow drafts or moisture to enter your home. Seal these gaps with appropriate roofing caulk or sealant to maintain a tight, waterproof barrier.
Step 8: Schedule a Professional Inspection
Consider hiring a professional roofing contractor in Brampton to conduct a comprehensive inspection of your roof. They can identify hidden issues and ensure your roof is winter-ready. If any repairs are needed, it’s best to address them before winter arrives.
Conclusion:
Winter can be tough on your roof, but with proper preparation, you can protect your home from the elements. By following this checklist, you’ll be well on your way to a winter-ready roof that will keep your family warm and dry throughout the season. Remember, a little maintenance now can save you from costly repairs later.